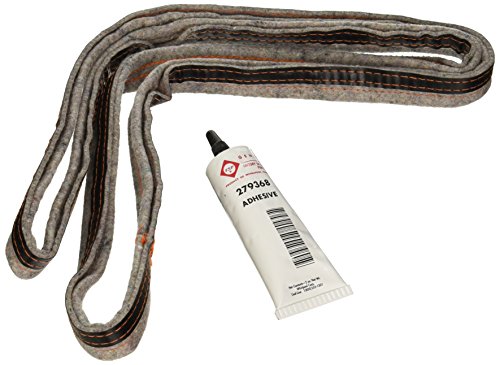
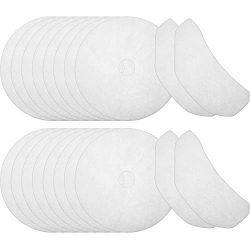
Works fine for Kenmore Series 90… Ordered for my Kenmore Series 90. My front felt had split completely around so I ordered 2 since I was going to have the drum out anyway. At the time of ordering, the picture was just the tube of glue but does come with glue and one felt seal.I removed the remnants of the old front seal (putty knife and some a little scraping) first. Out of the package, the seal looks like it’s too small, and if you eyeball it you’ll be convinced it’s not the right size. It does have a little…
If you’ve gotten the drum out of your dryer then … If you’ve gotten the drum out of your dryer then replacing the seal is a slam dunk. Simply pull the old liner off the drum, clean up the old glue (I used a Dremel tool with a small wire wheel brush), then glue the the new seal into place. You’ll need to pre-stretch the seal over the drum prior to gluing, once in place I secured the seal with clothes pins and removed a 1/4 section at a time to apply the glue. Apply more glue than you think you’ll need, the tube went further than I thought. Let…
Finally- The Streaks Are Gone! We had been seeing streaks on our white shirts and sheets from clothes sticking and wedging themselves in our dryer against the worn out and dried out felt/fabric “drum seal.” This kit did the trick and stopped the streaks. We watched one of the many videos online on how to disassemble our dryer.Scrape off the old seal, apply the included adhesive, and then stretch the seal around the drum and clamp/press and within minutes, the new seal was applied. We let it dry…
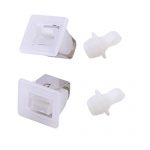
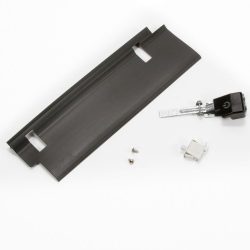
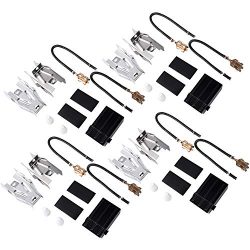
3355806 AC 120V 60Hz Washer Lid Switch Replacement Part for Whirlpool Kenmore Washer – Replaces WP3355806, AP2947199 PS11741201 Washer Dryer Combo Switch, Lid
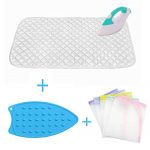
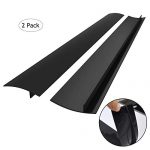
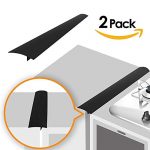
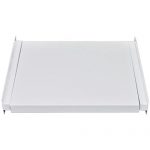
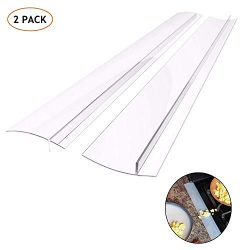
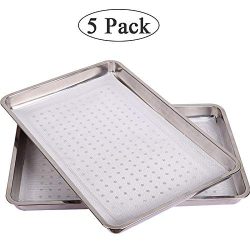
Kitchen Silicone Stove Counter Gap Cover, Easy Clean Heat Resistant Wide & Long Gap Filler, Seals Spills Between Counter, Stovetop, Oven, Washer & Dryer, Set of 2 (25 Inches, semi-clear)
Stays Put! I really liked this gap cover, though as you can see I didn't use it for the trad...
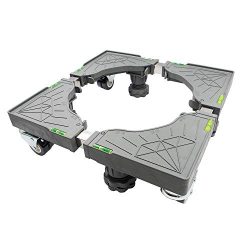
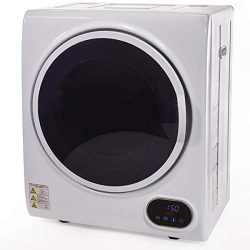
COSTWAY Electric Compact Laundry Dryer, 13LBS Capacity Tumble Dryer with 1500W Drying Power, 3.2Cubic Feet Front Load, Portable Clothes Dryer Easy Control for 7 Automatic Drying Mode, White
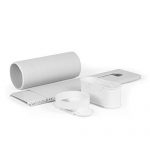
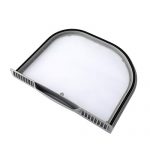
I liked the reasonable price and it was a perfect fit for myGE stackable washing machine. T...
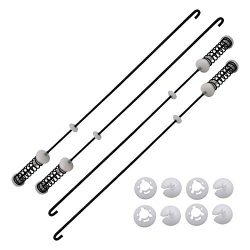
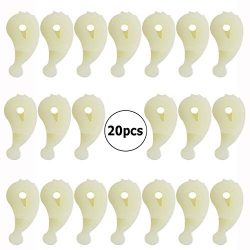
W10780048 Washing Machine Suspension Rods Kit by AMI PARTS Compatible with Kenmore Maytag Roper Whirlpool Washer-Replaces W10257087,W10257088,W10349191(4pcs)
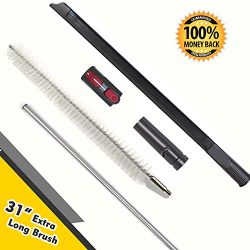
Dryer Vent Cleaner Kit 20 FT, iTrunk Dryer Vent Duct Cleaning Kit with Flexible Strong Rods Lint Cleaner Synthetic Cleaning Brush Head for Dryer Vent, Up To 20 Feet, Use with or without Power Drill


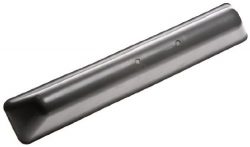


Works fine for Kenmore Series 90… Ordered for my Kenmore Series 90. My front felt had split completely around so I ordered 2 since I was going to have the drum out anyway. At the time of ordering, the picture was just the tube of glue but does come with glue and one felt seal.I removed the remnants of the old front seal (putty knife and some a little scraping) first. Out of the package, the seal looks like it’s too small, and if you eyeball it you’ll be convinced it’s not the right size. It does have a little…
If you’ve gotten the drum out of your dryer then … If you’ve gotten the drum out of your dryer then replacing the seal is a slam dunk. Simply pull the old liner off the drum, clean up the old glue (I used a Dremel tool with a small wire wheel brush), then glue the the new seal into place. You’ll need to pre-stretch the seal over the drum prior to gluing, once in place I secured the seal with clothes pins and removed a 1/4 section at a time to apply the glue. Apply more glue than you think you’ll need, the tube went further than I thought. Let…
Finally- The Streaks Are Gone! We had been seeing streaks on our white shirts and sheets from clothes sticking and wedging themselves in our dryer against the worn out and dried out felt/fabric “drum seal.” This kit did the trick and stopped the streaks. We watched one of the many videos online on how to disassemble our dryer.Scrape off the old seal, apply the included adhesive, and then stretch the seal around the drum and clamp/press and within minutes, the new seal was applied. We let it dry…